Easter Craft Decorations For Your Home
Easter is just around the corner, and what better way to celebrate than by creating unique and eco-friendly DIY Easter decorations using upcycled materials? Let's reveal your creativity and personality by creating one-of-a-kind pieces that can't be found in stores.
In this article, we'll explore a few ideas for DIY Easter decorations using upcycled materials, along with step-by-step instructions and examples to inspire you. These are very easy and fun activities to do with children!

Upcycled Easter Wreath
A wreath is a timeless decoration that can be used to adorn your front door, mantel, or even your Easter dinner table.

To create your upcycled Easter wreath, you'll need:
- A cardboard box
- Scissors
- Hot glue gun
- Twine
- Fabric scraps in Easter colors (pastels, florals, etc.)
- Ribbon or additional embellishments (optional)
Instructions:
- Cut a circle out of the cardboard box to create the base for your wreath. You can use a plate or a round object as a guide to ensure your wreath is a uniform size.
- Cut the fabric scraps into strips that are roughly 2 inches wide and 8-10 inches long.
- Tie the fabric strips onto the twine, alternating colors and patterns as you go. Continue tying the fabric strips until the twine is completely covered.
- Hot glue the twine onto the cardboard wreath base, making sure to cover the entire base with the fabric-covered twine.
- Add additional embellishments like ribbon or Easter-themed decorations if desired.
- And there you have it - a beautiful and eco-friendly Easter wreath that's sure to impress your guests.
Easter Bunting
Bunting is a fun and festive decoration that can be used to brighten up any space.
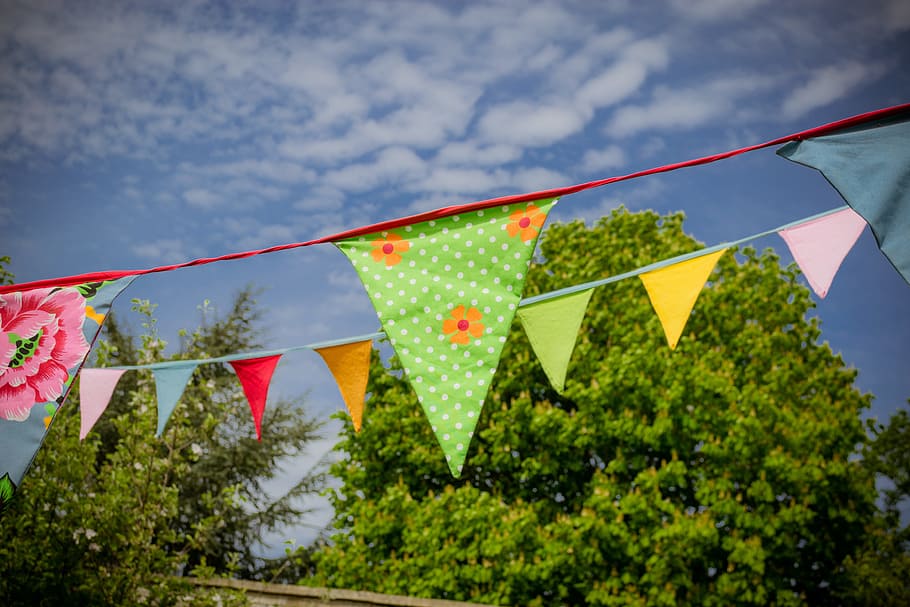
To create your upcycled Easter bunting, you'll need:
- Old fabric scraps in Easter colors
- Scissors
- Twine
- Hot glue gun
- Optional: Easter-themed stencils or paint to add designs to the fabric
Instructions:
- Cut the fabric scraps into triangles that are roughly 6-8 inches wide at the top and 8-10 inches long.
- Fold the top of the fabric triangle over the twine and hot glue it in place. Repeat this step for all of your fabric triangles, leaving a few inches of space in between each one.
- If desired, use Easter-themed stencils or paint to add designs or patterns to your fabric triangles.
- Hang your upcycled Easter bunting in your home or outside to add some festive flair to your space.
You can also try funny other shapes like this one:
 |
https://experthometips.com/diy-bunny-bunting |
Easter Egg decoration
Herb-Printed Eggs
For a natural and unique Easter egg decoration, try herb-printed eggs. This method involves using leaves and herbs to create imprints on your eggs. Here's how to do it:

Materials:
- Hard-boiled eggs
- Fresh herbs (such as parsley, cilantro, or dill)
- Pantyhose or cheesecloth
- String or twist ties
- Small saucepan
- White vinegar
- Water
Instructions:
- Cut small pieces of herbs and place them onto the surface of the egg.
- Cut a small square of pantyhose or cheesecloth and place it over the egg, wrapping it tightly around the egg.
- Secure the pantyhose or cheesecloth with a twist tie or string, making sure the herb is firmly pressed against the egg.
- In a small saucepan, mix together 1 cup of water and 1 tablespoon of white vinegar. Bring the mixture to a boil.
- Gently place the herb-covered eggs into the boiling water and let them simmer for about 15-20 minutes.
- Remove the eggs from the water and let them cool completely.
- Once cool, remove the pantyhose or cheesecloth and gently wipe off any excess herb residue.
- Admire your beautifully herb-printed Easter eggs!
Golden Easter Eggs
For a glamorous Easter egg decoration, try creating golden Easter eggs. This method involves using gold leaf to cover your eggs, creating a shiny and luxurious look.

Materials:
- Hard-boiled eggs
- Gold leaf sheets
- Adhesive glue for gold leaf
- Soft paintbrush
- Cotton swabs
- Protective gloves
Instructions:
- Hard-boil your eggs and let them cool completely.
- Wearing protective gloves, use a soft paintbrush to apply a thin layer of adhesive glue to the surface of the egg.
- Let the adhesive glue dry for a few minutes until it becomes tacky to the touch.
- Gently apply a gold leaf sheet to the surface of the egg, using a cotton swab to press it down and smooth out any wrinkles or bubbles.
- Repeat the process, adding more gold leaf sheets to cover the entire surface of the egg. You can also add a second layer of gold leaf for a more dramatic effect.
- Once you are satisfied with the coverage, use a cotton swab to gently remove any excess gold leaf from the surface of the egg.
- Admire your beautiful and shiny golden Easter eggs!
Sprinkle Easter Eggs
For a fun and colorful Easter egg decoration, try creating sprinkle Easter eggs. This method involves using sprinkles to cover your eggs, creating a festive and edible decoration. Here's how to do it:

Materials:
- Hard-boiled eggs
- Edible sprinkles in various colors
- Adhesive glue (such as Mod Podge or clear school glue)
- Small paintbrush
- Protective gloves
Instructions:
- Hard-boil your eggs and let them cool completely.
- Wearing protective gloves if desired, use a small paintbrush to apply a thin layer of adhesive glue to the surface of the egg.
- Holding the egg over a bowl, sprinkle the edible sprinkles over the surface of the egg, making sure to cover it completely.
- Gently press the sprinkles into the adhesive glue using your fingers or a cotton swab.
- Repeat the process, adding more sprinkles to create a colorful and fun design.
- Once you are satisfied with the coverage, use a cotton swab to gently remove any excess sprinkles
You can also simply paint them as you like with paint!


good idea
ReplyDeleteLove the idea
ReplyDeleteThe bunny bunting is so cute 🥰
ReplyDelete