DIY Candles: A Beginner's Guide to Sustainable and Creative Candle-Making
On social media, candles are in the spotlight when it comes to decorating your room or home. Candles can be a beautiful addition to any room, but they can also be expensive and harmful to the environment. That's why making your own candles is a great solution. In this beginner's guide, we'll show you how to make candles using both recycled wax and new wax, and provide you with some creative ideas for making them unique!

First, let's see what you need:
- Old candles (if you're using recycled wax)
- New wax (if you're buying it)
- Wicks
- A double boiler or a pot and a heatproof bowl
- Thermometer
- Essential oils (optional)
- Candle dye (optional)
- Scissors
- Container (e.g. Glass)
Step 1: Prepare your work area
As always, make sure you have a clean and organized workspace before you start. Lay down some newspaper or an old sheet to protect your work surface. Have all your materials handy, and make sure your double boiler or pot and heatproof bowl are clean.
Step 2: Melt the wax
If you're using recycled wax, start by melting it down in a double boiler or in a heatproof bowl set over a pot of boiling water. If you're using new wax, follow the instructions on the package to melt it down. Make sure you use a thermometer to check the temperature of the wax. The ideal temperature is between 70°C and 80°C.
Step 3: Add fragrance and color
If you want to add fragrance or color to your candles, now is the time to do it. You can add essential oils for a natural scent, or candle-making fragrance for a stronger scent.
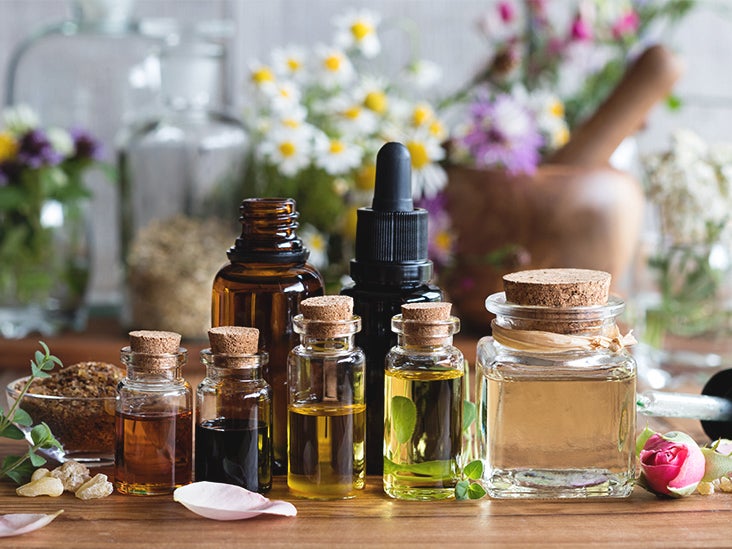
Choose your scent carefully:
- Winter and Christmas candles frequently contain the sweet and spiciness of nutmeg, vanilla and cinnamon.
- In the summer, lighter and fresher scents like lavender or citrus might be more appropriate.
- Dried herbs like rosemary and thyme will help you create a natural atmosphere in your home.
Step 4: Attach the wick
Take your wick and cut it to the desired length. Dip the end of the wick into the melted wax, then place it in the center of the candle container. Hold the wick in place until the wax hardens and the wick stays upright.
Step 5: Pour the wax
Carefully pour the melted wax into the candle container. Make sure the wick stays in place and doesn't move. Fill the container to about ½ inch below the rim.

Step 6: Let it cool
Let the candle cool completely, preferably overnight. Once the candle has hardened, trim the wick to about ¼ inch.
- Other creative ideas:
- Add dried flowers or herbs to the wax for a natural touch

- Use different types of containers, such as mason jars or teacups

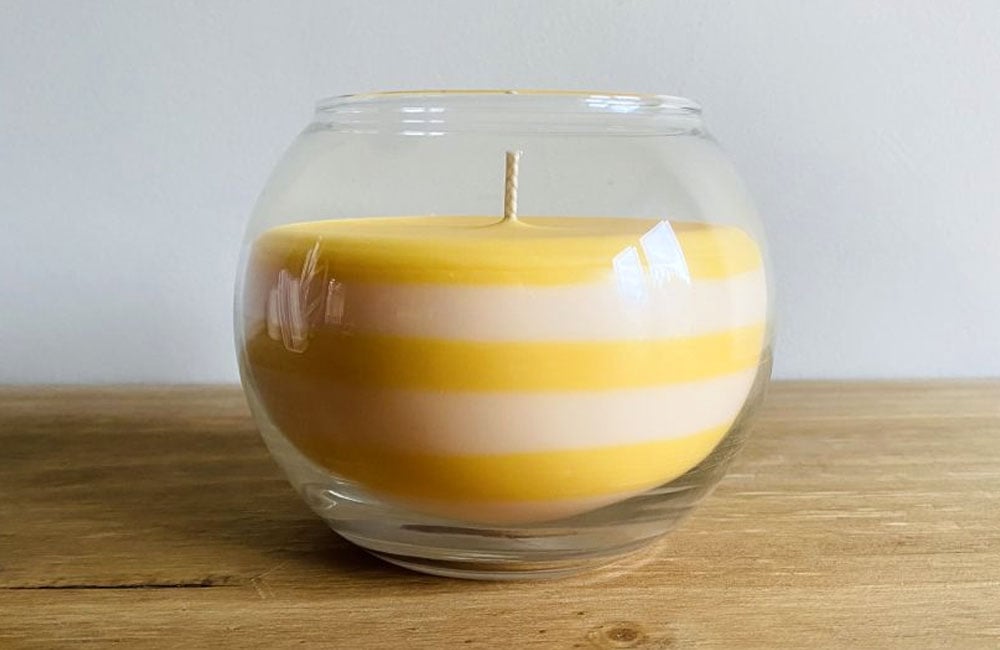
- Create layers of different colors and scents in the wax (this video shows you how to make funny layered candles)
- Try new forms (Here is a tutorial to create bendy candles, very famous on Pinterest!)

I know what I'll do this week-end!
ReplyDelete